 Ferndale
 Siding Built for the Lummi Nation Waterfront and Shoreline Climate
Homes in and around Lummi Nation sit closer to the water than almost anywhere else we work in Whatcom County. That proximity is part of what makes the area beautiful, and it's also what makes siding selection and installation here less forgiving than it is a few miles inland. Salt-laden air off Bellingham Bay and the Strait of Georgia, driving rain that comes in sideways during fall and winter storms, and a moss season that can stretch from October well into April all put steady pressure on exterior walls. Siding that isn't matched to that combination, or isn't installed correctly for it, tends to show problems years before it should.
This page is about one thing: what it takes to install siding correctly on a home in the Lummi Nation area, and why that job looks a little different here than it does elsewhere in Ferndale.
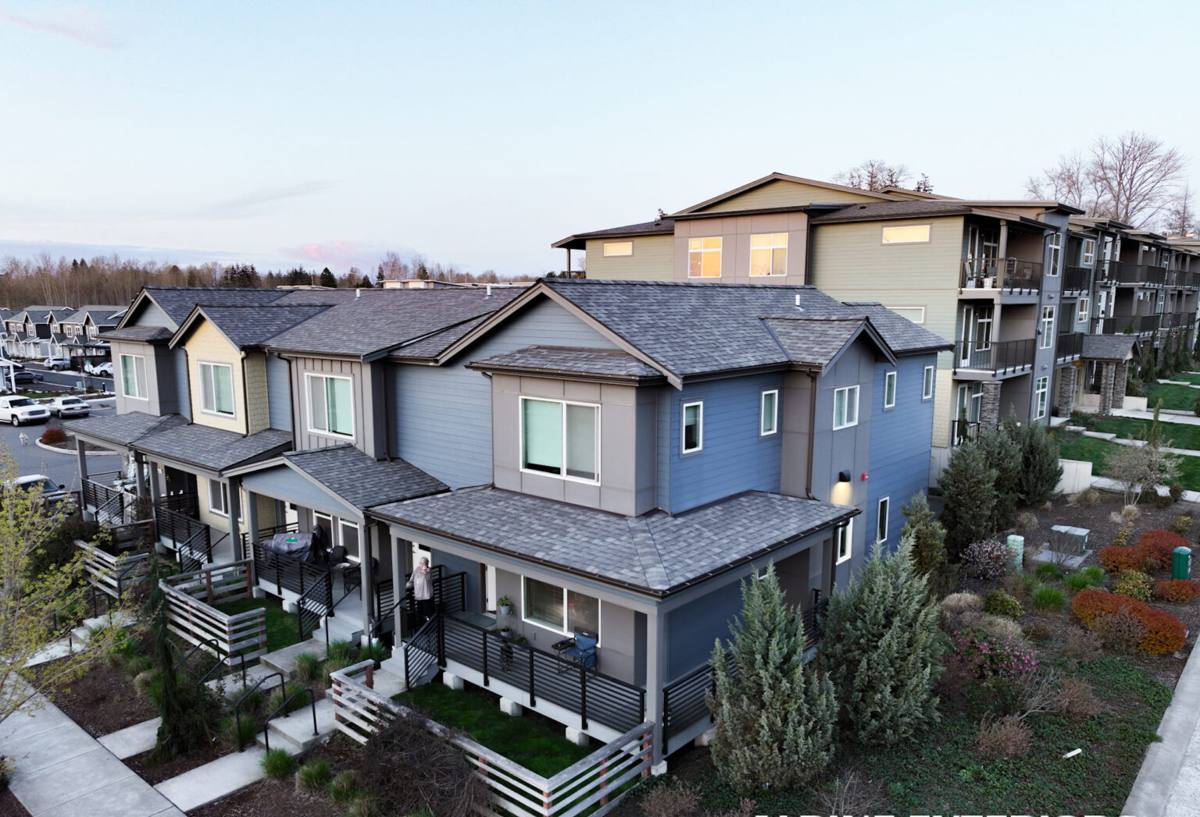
What Salt Air, Rain, and Moss Actually Do to Siding
Salt Air
Airborne salt is corrosive to fasteners, flashing, and metal trim, and it accelerates the breakdown of finishes that aren't formulated to resist it. Wood-based siding products absorb moisture more readily in salt-heavy air, and paint films chalk and fail faster near the shoreline than they do inland. This isn't a dramatic, sudden failure — it's a slow erosion of protective layers that eventually lets water in.
Driving Rain
Whatcom County storms off the water frequently push rain horizontally against west- and southwest-facing walls. That kind of wind-driven rain finds every gap in flashing, every under-caulked seam, and every place where siding wasn't held off the wall assembly correctly. A siding job that looks fine in a calm, dry install can still fail its first real test during a January storm if the water management details underneath weren't done right.
Moss and Sustained Moisture
Shaded, north-facing walls and areas under tree cover hold moisture for much longer stretches here than they would in a drier climate. Moss and algae don't just look bad — they hold water against the siding surface, which is exactly the condition that causes rot in wood-based products and accelerates finish breakdown on any material that isn't built to shed moisture and resist organic growth.
Why We Only Install James Hardie Fiber Cement Here
We don't install vinyl, LP SmartSide, primed spruce, cedar, or other fiber cement brands like Cemplank or Allura. That's not a marketing position — it's a decision based on what actually holds up in this specific environment over decades, not just years.
- Non-combustible: James Hardie fiber cement won't ignite or contribute fuel to a fire, which matters on any home, waterfront or not.
- Engineered moisture resistance: Hardie's fiber cement formulation is dimensionally stable and resistant to moisture-driven swelling, warping, and rot in a way that wood-based and wood-adjacent products are not.
- ColorPlus factory finish: A baked-on finish applied under controlled conditions holds up better against salt air and UV than field-applied paint, and it comes with its own finish warranty.
- Climate-engineered product lines: Hardie makes region-specific HZ formulations, and the Pacific Northwest version is engineered for exactly the wet, moderate climate we have in Whatcom County.
- Strong transferable warranty: A meaningful warranty structure that a future buyer can rely on, not just the original owner.
We're upfront about the trade-offs. Fiber cement is heavier and less forgiving to install than vinyl — it demands correct fastening, gapping, and flashing, and it costs more upfront than vinyl or engineered wood siding. We think that cost is justified by what it saves a homeowner in maintenance, repair, and premature replacement, especially this close to the water. Products like vinyl can crack or warp in temperature swings and never fully seal against wind-driven rain at the seams; LP SmartSide, primed spruce, and cedar all rely on wood or wood-derived cores that are more vulnerable to sustained moisture and moss-holding conditions than fiber cement. Those aren't bad products in every context — they're just not what we're willing to put on a home in a shoreline-influenced microclimate like this one.
What a Correct Installation Involves
The siding material is only part of the equation. A large share of siding failures we get called out to inspect trace back to installation shortcuts, not the product itself. On a Lummi Nation area home, we pay particular attention to:
Water Management Behind the Siding
A weather-resistant barrier installed correctly, with proper overlap and sealed penetrations, is what actually keeps water out of the wall assembly — the siding itself is the second line of defense, not the only one. Flashing at windows, doors, and roof-to-wall transitions has to be installed in the right order relative to the barrier, not just caulked after the fact.
Fastening and Clearances
James Hardie specifies exact nailing patterns, fastener types, and minimum clearances from grade, roof lines, and decks. In a salt-air environment, using corrosion-resistant fasteners isn't optional — it's the difference between trim that lasts decades and fastener heads that bleed rust through the finish within a few years.
Caulking and Sealant Joints
Every joint, seam, and penetration is a potential entry point for wind-driven rain. Correct sealant selection and application, done at the right stage of installation, is what keeps those joints watertight through repeated freeze-thaw cycles and storm seasons.
Ventilation Behind the Cladding
Proper rainscreen or drainage plane detailing lets any moisture that does get behind the siding drain and dry out, rather than sitting against the wall sheathing. This matters more in a high-moisture, low-sun climate than it does in drier parts of the state.
| Install Factor | Why It Matters Near the Water |
|---|---|
| Fastener material | Salt air accelerates corrosion of standard fasteners; corrosion-resistant fasteners hold trim and siding secure for the long term |
| Flashing sequence | Wind-driven rain finds any gap; correct shingle-lap order keeps water moving out, not in |
| Sealant joints | Storm-driven rain tests every seam; proper sealant application prevents wind-forced intrusion |
| Drainage plane | Long moss season keeps shaded walls damp; a working drainage gap lets moisture escape instead of pooling |
| Clearance from grade/decks | Sustained dampness at low clearances is a leading cause of premature siding failure |
Our Process for a Lummi Nation Area Home
- On-site assessment: We walk the exterior, check existing siding and trim condition, note moss and moisture patterns, and identify wall orientations most exposed to wind-driven rain.
- Scope and product selection: We recommend the appropriate James Hardie product and profile for the home's style and exposure, and explain the reasoning in plain terms.
- Tear-off and inspection: Once old siding is removed, we inspect the sheathing and framing underneath for existing moisture damage before anything new goes up.
- Weather barrier and flashing installation: This is the step most homeowners never see and most future problems trace back to — we don't rush it.
- Siding installation to Hardie spec: Correct nailing, gapping, and clearances, following manufacturer installation requirements rather than shortcuts.
- Trim, caulking, and final detail work: Every joint sealed correctly, every transition finished cleanly.
- Final walkthrough: We go over the finished work with the homeowner before considering the job done.
Why a Crew That Already Works This Area Matters
A contractor who regularly works Ferndale and the surrounding Whatcom County shoreline communities has already seen how homes in this specific microclimate age — where moss builds up first, which wall orientations take the worst of the wind-driven rain, and how salt air affects fastener and trim choices over time. That local pattern recognition shapes real decisions on the job: where extra flashing attention goes, which fastener spec to insist on, and how to sequence work around the wetter months. A crew installing siding here for the first time is making those calls without that local experience behind them.
A Homeowner's Pre-Install Checklist
- Ask what siding material is being installed and why it was recommended for your specific home and exposure
- Confirm the weather-resistant barrier and flashing details in writing, not just verbally
- Ask about fastener material and whether it's corrosion-resistant
- Get the manufacturer's installation instructions referenced in your contract, not just "industry standard"
- Ask how drainage/ventilation behind the siding will be handled on shaded or north-facing walls
- Confirm what warranty applies to the product finish versus the installation labor, and who backs each one
Cost Factors to Understand Before You Get a Quote
Every home is different, so we won't quote a number without seeing the job, but the main variables that drive cost on a Lummi Nation area installation are worth understanding upfront: the amount of tear-off and disposal required, the condition of the sheathing underneath the existing siding, the complexity of the home's trim and roofline (more corners and transitions mean more flashing and labor), the Hardie product line and profile chosen, and the amount of moisture-related repair work uncovered once old siding comes off. Homes closer to the water with more shade and moss exposure sometimes need more sheathing repair than homes just a short distance inland, which is one more reason a proper inspection has to happen before a firm number gets set.
Ready When You Are
If your siding is showing moss staining, chalking, soft spots, or you're just planning ahead for a home in the Lummi Nation area, we're glad to take a look and walk you through what we're seeing and what it would take to do the job right. Fill out the form below for a free, no-pressure estimate.