 Ferndale
 Building New in the Kendall Area: What Whatcom County Weather Asks of Your Windows
If you're framing a new home out toward Kendall, you're building in a part of Whatcom County that sees a different mix of weather than a subdivision closer to town. You get long stretches of driving rain off the Sound funneling inland, a moss and lichen season that runs most of the year on anything shaded or north-facing, and — closer to the water — salt-laden air that finds its way into hardware and finishes faster than most manufacturers' brochures admit. None of that is a reason to over-build or over-spend on a window package. It's a reason to get the boring parts right: flashing sequence, sill pan drainage, and a weather-resistive barrier that actually laps the way it's drawn on the wall section.
New construction is the one point in a home's life where every one of those details is easy to get right, because the wall is still open. Once siding and trim go on, fixing a bad flashing job means tearing back finished work. That's the whole argument for hiring a crew that treats the window install as part of the building envelope, not as a box being dropped into a hole.
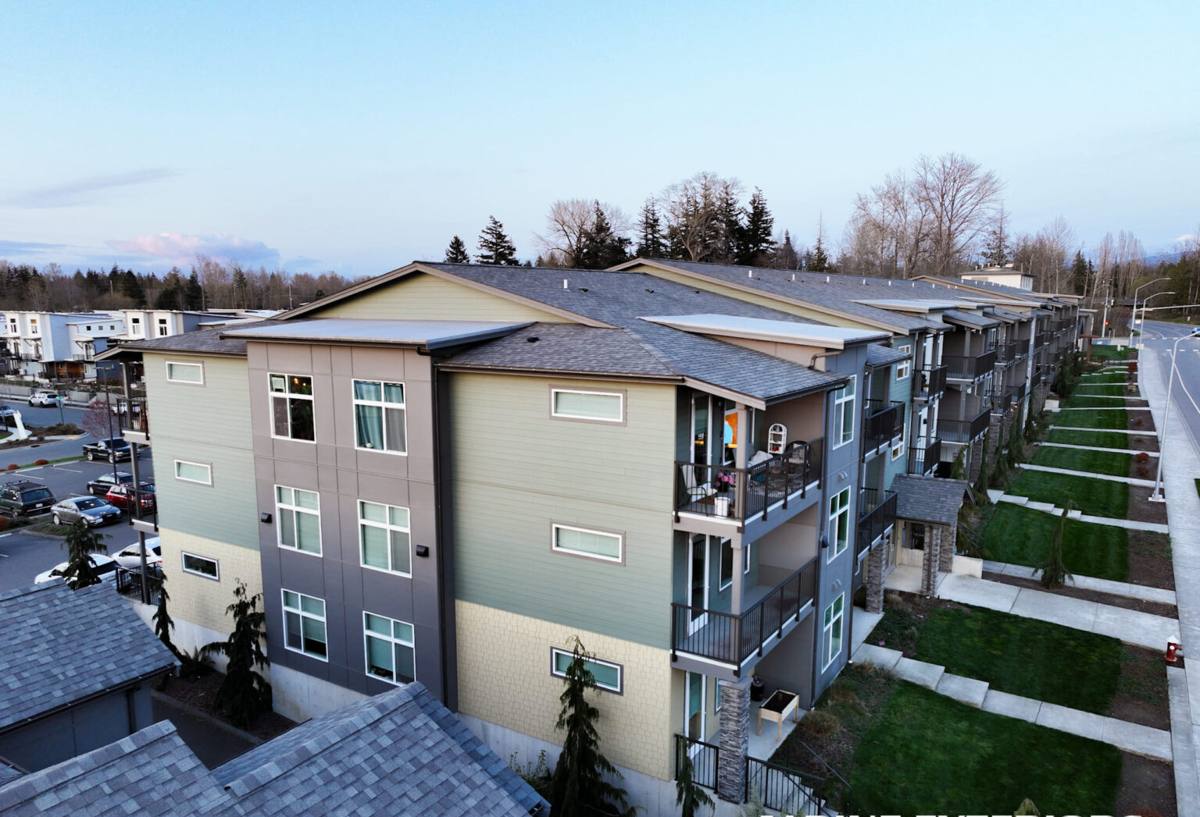
New-Construction Windows vs. Replacement Windows: Why the Method Is Different
A lot of homeowners assume a window is a window. In practice, new-construction and replacement units are installed with different hardware and different sequencing, and mixing up the approach is one of the more common ways a brand-new house ends up with a leak inside its first few winters.
Nail-fin (new-construction) windows
These have a flange around the perimeter that gets integrated directly into the wall's water-resistive barrier before siding goes on. Done correctly, water is directed out and down over each layer below it, shingle-style, all the way to the foundation. This is the standard approach for a new build, and it's the one we install almost exclusively out in the Kendall/Ferndale area.
Block-frame (replacement/retrofit) windows
These have no nailing flange and are designed to go into an existing, already-sided opening, sealed against the frame with sealant and trim rather than flashed into the WRB. They're the right tool for a remodel where you don't want to open the wall — they're the wrong tool for a house that's still in the framing stage, because you're giving up the shingle-lap drainage a nail-fin window gives you for free.
Getting the Water Management Right
Most window failures we get called out to fix — in new builds and old ones alike — trace back to the same handful of sequencing mistakes, not to a bad window. In a climate that delivers sustained, wind-driven rain the way Whatcom County does, the margin for error on this sequence is thinner than it is in a drier region.
- Sill pan flashing installed and sloped to drain to the exterior, not just a bead of sealant under the window
- Corner patches or flexible flashing at the sill corners, where most leaks actually start
- Side flanges taped or flashed over the sill flashing, and the head flashing lapped over the side flanges — water always moves down and out, never up and in
- Weather-resistive barrier integrated with the flashing in the correct shingle-lap order, not just stapled around the rough opening
- A drip cap or head flashing detail above the window, sized to actually throw water clear of the opening below
- Backer rod and low-expansion sealant at the interior air seal, separate from the exterior drainage plane
Get this sequence right once, at rough-in, and it stays right for the life of the house. Get it wrong, and you're often not finding out until moss and staining show up on interior trim two or three winters later — by which point the fix means opening up finished siding and drywall.
Choosing Window Materials and Ratings for This Climate
Whatcom County's energy code and the realities of a wet, moderate-but-persistent climate both push toward a fairly specific window spec, but there's real room to choose based on budget and maintenance appetite.
| Frame Material | Moisture Tolerance | Maintenance | Typical Fit |
|---|---|---|---|
| Vinyl | Very good — won't rot, corrode, or need refinishing | Low | Most cost-conscious new builds; standard choice for spec homes |
| Fiberglass | Excellent — very stable in wet, temperature-swinging conditions | Low | Custom or higher-end new builds wanting narrower sightlines |
| Wood (clad exterior) | Good if the exterior cladding is intact; interior wood needs a dry, well-ventilated house | Higher — exterior clad face is low-maintenance, but any exposed wood needs attention | Homeowners set on a specific interior wood look |
| Aluminum | Prone to condensation and thermal transfer unless thermally broken | Moderate — watch for pitting near salt-influenced air | Rare for residential in this area; mostly commercial |
For most new builds out this way, we're specifying vinyl or fiberglass units with a U-factor that meets or beats Washington's current residential energy code, and we'd rather quote you a window with a real drainage system built into the sill than a slightly cheaper unit that saves fifty dollars and gives up that detail.
Our Process on a New-Construction Job
- Rough opening check. We verify every opening is square, plumb, and sized to the window schedule before a single flange goes near it — a framing tolerance issue is far cheaper to fix now than after windows are set.
- Sill pan and flashing install. Sloped sill pans go in first, followed by the corner and jamb flashing, sequenced so every layer drains onto the one below it.
- Window set and fastening. Units are set plumb, level, and square, shimmed correctly at load points, and fastened per the manufacturer's schedule — over-driving or under-driving fasteners is a common cause of frame distortion and failed seals.
- Head flashing and WRB integration. Head flashing is set and lapped into the weather-resistive barrier above the opening before house wrap or siding closes in around it.
- Interior air seal. Backer rod and sealant go in at the interior side, separate from the exterior drainage plane, to control air leakage without trapping moisture in the wall.
- Final check before siding. Every opening gets a walk-through before we let the wall get closed in — this is the last point where a flashing mistake is a five-minute fix instead of a torn-open wall.
Coordinating With Your Builder and Schedule
New-construction window work only goes smoothly if it's timed correctly against framing, house wrap, and siding. We work directly with your general contractor or builder to hit the window in the schedule where the wall is dried in but siding hasn't started — showing up too early means working around incomplete house wrap, and showing up too late means someone's already trying to seal a window into siding that's already up. On a Kendall-area lot, weather windows in the wetter months can also shift a schedule; we'd rather push a day than flash an opening during a downpour and trap water in the wall before it's even occupied.
What This Costs, and What Drives the Number
| Factor | Why It Moves the Price |
|---|---|
| Window count and size | More openings and larger units (especially large fixed or slider combinations) add labor and material directly |
| Frame material | Vinyl is the budget baseline; fiberglass and clad-wood units cost more per opening |
| Performance glass package | Low-E coatings and gas-fill upgrades add cost but pay back in comfort and condensation control in this climate |
| Flashing complexity | Openings near roof lines, decks, or multiple wall planes take more flashing detail and time than a simple flat wall |
| Access and staging | Second-story or hard-to-scaffold openings add labor time |
We'll walk your plan set with you and give you a straight number before anything is ordered — no surprise change orders once the windows show up on site.
A Practical Checklist Before You Order Windows
- Confirm your window schedule matches actual rough openings on the framed structure, not just the plan set
- Decide on frame material and glass package before ordering — mid-project changes delay the whole schedule
- Confirm who is supplying and installing the WRB, and that it's compatible with the flashing tape being used
- Ask your installer to walk you through their flashing sequence before the wall closes in — a straight answer here tells you a lot
- Check that egress-sized windows are correctly identified in bedrooms per code
- Get the install timed against your siding contractor's schedule, ideally with the same crew or close coordination between the two
Why a Crew That Already Works This Area Matters
Kendall and the surrounding Ferndale-area lots aren't identical to a dense in-town subdivision — driveway access, lot grading, and how exposed a given wall is to wind-driven rain all vary more out here. A crew that's already flashed windows on builds in this part of Whatcom County has already seen how these conditions actually play out on a wall, not just on paper. That's less time spent explaining site conditions and more time spent getting the flashing sequence right the first time.
If you're framing a new home in the Kendall area and want your windows installed the way the wall section actually calls for, we're glad to walk your plans with you and give you a free, no-pressure estimate. There's a short form below — tell us a bit about the project and we'll get back to you.