 Ferndale
 Siding for an Island Climate
Lummi Island sits out in the Salish Sea, reachable only by the ferry from Gooseberry Point, and that setting is exactly why siding here wears differently than siding a few miles inland in Ferndale or Bellingham. Homes on the island face a near-constant marine environment: salt-laden air blowing off the water, wind-driven rain that hits walls sideways instead of falling straight down, and a wet season that stretches long and keeps tree-shaded siding damp for weeks at a time. Whatcom County as a whole deals with a wet Pacific Northwest climate, but island and shoreline properties get an intensified version of it. Siding that performs fine in a sheltered inland yard can fail years early on Lummi Island if it wasn't chosen and installed with that exposure in mind.
This page is specifically about siding installation for Lummi Island homes — what the climate demands, what a correctly done installation actually involves, and why the logistics of working on an island make experience with this specific area worth something.
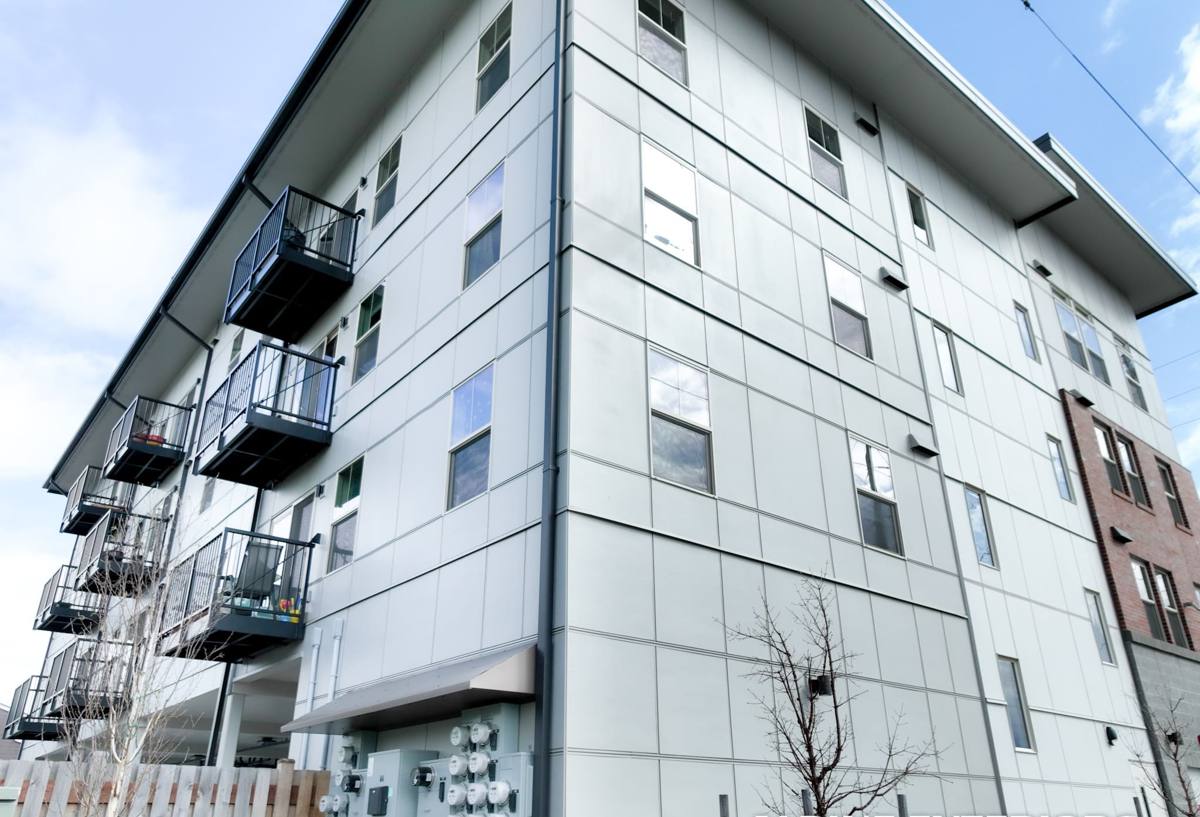
What Salt Air, Driving Rain, and Moss Season Do to Siding
Salt Air
Airborne salt is corrosive to metal fasteners, flashing, and trim, and it accelerates the breakdown of paint film and cheaper composite materials over time. On a property with unobstructed exposure to the water, salt exposure is a daily, year-round factor, not an occasional storm event. Fasteners and flashing details that would be adequate on a sheltered inland lot need to be more carefully specified here.
Driving Rain
Wind off the water doesn't just add rain volume — it pushes water sideways and upward under laps, trim, and penetrations that would stay dry in a calmer setting. Any gap in flashing, caulking, or lap coverage becomes an entry point for moisture. Over years, that moisture works into sheathing and framing long before it's visible from the outside.
Moss Season
Whatcom County's wet fall-through-spring stretch is long, and on Lummi Island the combination of tree cover, shade, and constant moisture means moss and algae get a real head start on north-facing and shaded walls. Wood-based and wood-look products give moss and mildew something to feed on and root into. Once established, moss holds moisture against the siding surface, which speeds up rot in anything wood-based and keeps the wall assembly damp longer after every rain.
None of these factors are dramatic on their own. What they do is compound — salt breaks down finishes faster, driving rain finds every installation shortcut, and moss keeps everything wetter for longer. On an island lot, that combination is a real test of both the material and the installation.
Why We Only Install James Hardie Fiber Cement
We install James Hardie fiber cement siding exclusively. We don't install vinyl, LP SmartSide, Cemplank, Allura, primed spruce, or cedar, and on a property like Lummi Island the reasons are practical, not just a brand preference.
- Non-combustible core: fiber cement doesn't burn, warp, or soften from heat the way vinyl can, and it doesn't carry the fire-related concerns of wood siding.
- Doesn't feed moss or rot: Hardie's fiber cement composition doesn't provide organic material for moss, algae, or fungus to root into the way wood, engineered wood, and some composite products can. That matters directly for the long moss season here.
- ColorPlus factory finish: the finish is baked on at the factory under controlled conditions, which holds up to UV and salt air exposure far better than field-applied paint, and it comes with its own finish warranty.
- Climate-engineered for the Pacific Northwest: Hardie's HZ5 product line is engineered specifically for wetter, cooler climate zones like ours, which is the zone Whatcom County falls into.
- Dimensionally stable: fiber cement doesn't expand, contract, or swell with moisture the way wood-based products do, so it holds paint lines, caulk joints, and butt seams tighter over time.
We're not going to claim the other products are junk — vinyl is inexpensive and easy to install, LP SmartSide has genuine fans, and cedar has real curb appeal. But on a marine-exposed island property, the maintenance burden, moisture sensitivity, or long-term finish performance of those alternatives is a trade-off we don't think is worth making. Fiber cement, installed correctly, is what we're willing to put our name on here.
What a Correct Installation Involves
The material is only half the equation. A lot of siding failures — even with a good product — trace back to installation shortcuts, not the product itself. On an exposure-heavy site like Lummi Island, these details matter more than they would inland:
Drainage Plane and Rain Screen
A properly installed weather-resistive barrier behind the siding, with a drainage gap (rain screen) between the barrier and the siding panels, gives incidental moisture a path to drain and dry out instead of sitting against the wall. On a driving-rain site, this isn't optional — it's the difference between water that sheds and water that gets trapped.
Flashing at Every Penetration
Windows, doors, vents, hose bibs, light fixtures — every penetration through the siding is a potential entry point. Correct flashing, installed in the right order relative to the weather-resistive barrier (so water is always directed outward, never behind the barrier), is one of the most common places corners get cut on lower-quality installs.
Fastening and Clearances
Hardie specifies fastener type, spacing, and placement, and those specs exist for a reason — under-fastened or improperly placed nails can cause boards to loosen or crack over time, especially under wind load, which is a real factor on an exposed island lot. Manufacturer-specified clearances (from grade, roofing, decks, and other trim) keep the bottom edge of the siding from sitting in standing water or splash-back.
Caulking and Joint Treatment
Butt joints, trim intersections, and panel ends need the right sealant, applied correctly — not as a substitute for good flashing, but as a second line of defense. Poor caulking work shows up as staining and moisture intrusion at joints within a few years, well before the siding itself would otherwise show wear.
Our Process for Lummi Island Projects
Working on an island adds real logistics that don't come up on a mainland job, and having done it before changes how a project runs:
- Ferry-aware scheduling: crew and material movement has to work around the ferry schedule, not around a normal drive-to-the-job routine. We plan crew days and material deliveries to minimize wasted ferry trips.
- Material staging: Hardie siding, trim, and accessories are ordered and staged so a full day's material load makes the crossing at once, rather than making multiple partial trips.
- Site walk and assessment: we look at existing siding and sheathing condition, exposure direction (which walls take the worst of the wind-driven rain and salt), moss and shade patterns, and any moisture damage that needs addressing before new siding goes on.
- Tear-off and sheathing check: once old siding is off, we check sheathing and framing for hidden moisture damage — this is the point where problems that were invisible from outside get caught and addressed, not covered over.
- Weather barrier and rain screen installation: installed to manufacturer spec, sized for the exposure level of that particular wall.
- Hardie panel or lap installation: fastened, flashed, and clearanced to spec, with attention to the walls taking the most direct wind and rain.
- Trim, caulking, and final detail work: the finishing details that determine how the job looks and performs for the next 30+ years.
Cost Factors for Lummi Island Siding Projects
Every project is different, but these are the factors that most often move the price on an island job specifically:
| Factor | Why It Matters on Lummi Island |
|---|---|
| Ferry logistics | Material and crew transport adds scheduling complexity and time compared to a mainland job |
| Wall exposure level | Walls facing open water may need more robust flashing and drainage detailing than sheltered walls |
| Existing damage | Hidden moisture or rot found under old siding adds repair scope before new siding goes on |
| Siding profile choice | Lap siding, panel siding, and shingle-style Hardie products vary in material and labor cost |
| Trim and accessory scope | Corner boards, window trim, and fascia detailing add both material and labor time |
| Access and site conditions | Steep lots, limited staging space, or tree cover can add setup time |
Signs Your Siding Needs Attention
On an exposure-heavy property, it's worth checking these regularly rather than waiting for obvious failure:
- Persistent moss or algae growth that returns quickly after cleaning
- Soft spots, bubbling, or visible warping in wood-based siding
- Paint that's peeling, chalking, or fading unevenly, especially on water-facing walls
- Staining or discoloration streaking down from trim or joints
- Gaps opening up at butt joints, corners, or around window and door trim
- Any soft or spongy feel when pressing on siding near the base of the wall
Why a Crew That Already Works Lummi Island Matters
A contractor who's never worked on an island can still do a technically fine installation, but they're solving logistics problems for the first time on your job — figuring out ferry timing, material staging, and site access as they go. A crew that already works Lummi Island has that part solved before the first day of work, which means less wasted time, fewer scheduling surprises, and a project that runs closer to the timeline you were quoted. It also means we've seen how the specific exposure on this island plays out on real homes over time, and we plan flashing, drainage, and material choices with that in mind rather than applying a generic mainland approach to a marine site.
If you're planning a siding project on Lummi Island, we're happy to walk the property, look at your current siding's condition, and talk through what correct installation looks like for your specific exposure. Reach out for a free, no-pressure estimate using the form below.