 Ferndale
 New-Construction Windows for Nooksack Homes
Nooksack sits along the river that gives it its name, a bit inland from Ferndale and the open water of Bellingham Bay, but still squarely inside the same Whatcom County weather pattern: driving rain, long stretches of overcast humidity, and a moss and mildew season that runs longer here than it does in drier parts of the state. When a home is being newly built, or when an addition or full re-side takes the exterior wall down to open framing, the windows that go into those openings are new-construction windows — a different product and a different installation method than a retrofit replacement window dropped into an existing frame. Getting that installation right the first time matters more in this climate than in most, because a window opening that isn't flashed and sealed correctly doesn't just leak air, it lets water track down into wall framing that can sit damp for months at a time.
We work new-construction window installs on Nooksack-area homes regularly, alongside our siding and roofing work, and we treat the window opening as part of the same connected water-management system as the wall around it rather than as a standalone product install.
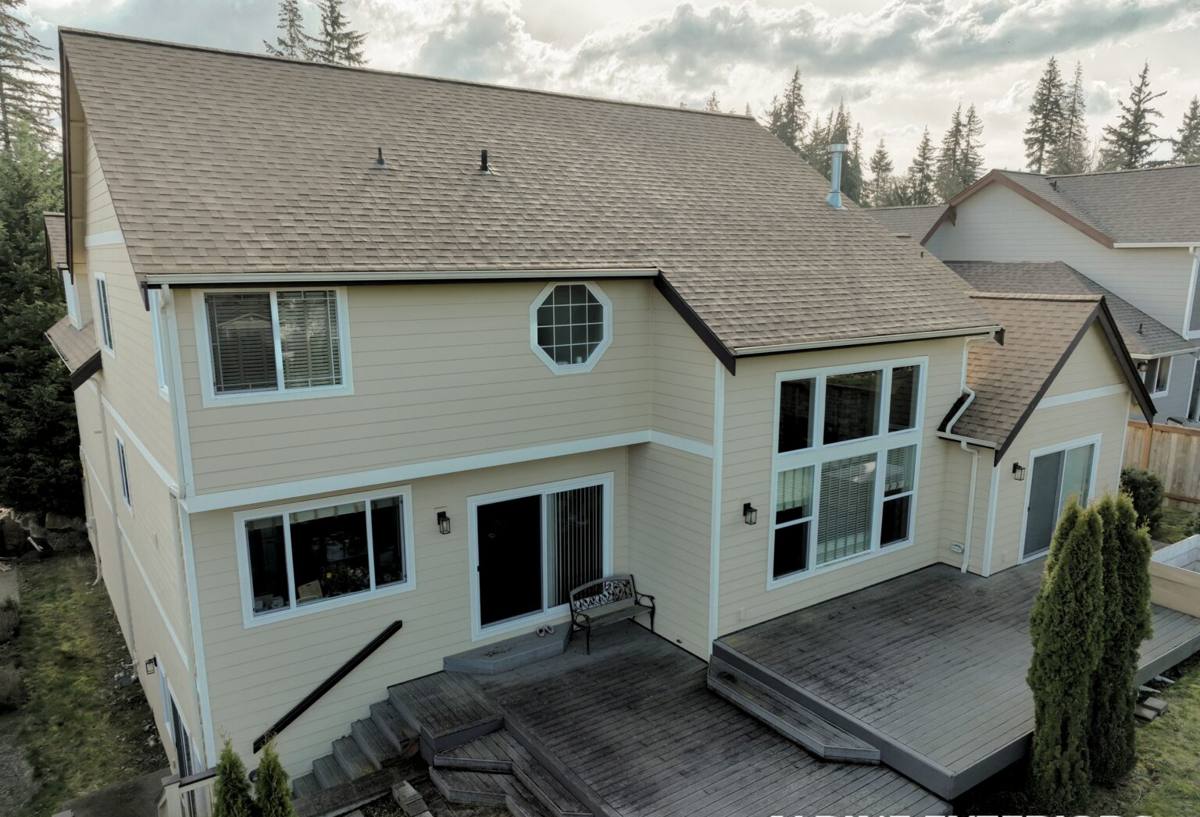
New-Construction vs. Replacement Windows: Why the Distinction Matters
A new-construction window has a nailing fin around its perimeter that gets fastened directly to the wall sheathing and integrated with the house wrap and flashing before siding goes on. It's the right product when you're building new, adding on to a home, or tearing off siding down to the studs for a full re-side. A replacement (or "pocket") window, by contrast, is built to fit inside an existing frame without disturbing the surrounding wall — no nailing fin, no access to the sheathing or framing behind it.
The two aren't interchangeable, and using the wrong one causes real problems. A new-construction window installed into an existing frame without proper flashing integration leaves gaps that are difficult to seal correctly. A pocket replacement window used where the wall is already open wastes the one chance to flash the opening properly at the sheathing level. For Nooksack-area new construction and additions, where the framing is already exposed, a correctly installed new-construction window with full flashing integration is the stronger, more durable choice — and it's the only time that level of flashing access is available without tearing into finished walls later.
When New-Construction Windows Make Sense
- New home builds, where the window openings are framed and open from the start
- Room additions and bump-outs with new exterior wall framing
- Full siding tear-offs, where the wall is being opened up to the sheathing anyway
- Window relocations or resizing, which require new rough openings regardless of the existing window type
What the Nooksack Climate Demands from a Window Install
Driving Rain
Whatcom County rain rarely falls straight down for long. Wind pushes it sideways into wall openings, and a window opening is one of the most vulnerable points on the entire exterior — every seam around the frame is a potential entry point if the flashing sequence isn't layered correctly, water-shedding side over water-shedding side, from the bottom up.
River Valley Moisture
Nooksack's location along the river valley means mornings and evenings often carry more ground-level fog and humidity than you'd find on higher, more open ground closer to town. That sustained dampness doesn't cause a window to fail on its own, but it does mean any small flashing mistake has more time and more moisture to work with before anyone notices a problem.
A Long Moss and Mildew Season
Shaded elevations and damp conditions keep moss and mildew active across most of the year in this part of the county. Around a window, that shows up first as staining or soft caulk at the sill, and it's usually a sign that water is sitting somewhere it shouldn't rather than draining away the way the flashing was designed to let it.
Condensation and Temperature Swings
Cool, damp air outside and a heated interior create real potential for condensation at the glass and frame, especially with older single-pane or poorly sealed units. Properly installed, insulated new-construction windows with good low-e glass cut down on that condensation risk substantially compared to a window that's just been set into an opening without attention to air sealing around the frame.
What a Correct New-Construction Window Install Involves
The window unit itself is only part of the job. Most of the long-term performance comes down to how the opening is prepared and flashed before and after the window goes in.
- Sloped sill pan flashing: A pan at the bottom of the rough opening, sloped to drain any water that gets past the window back out to the exterior rather than letting it pool against the framing.
- Jamb and head flashing integrated with the house wrap: Flashing tape and house wrap should be layered so every course sheds water onto the one below it, with no reverse laps that could direct water inward.
- Nailing fin fully sealed: The fin needs continuous contact with the wall and sealant or tape at every edge, not just at the fastener locations.
- Correct shimming and plumb: A window that isn't shimmed level and plumb can bind, operate poorly, or develop stress cracks in the frame over time.
- Interior air sealing: Low-expansion foam or backer rod and sealant around the interior perimeter, closing the gap between the rough opening and the window frame to control air leakage and condensation.
- Exterior trim and caulking: The final exterior seal, done after flashing and siding are in place, so caulk is a backup layer rather than the only thing keeping water out.
Our Process
We walk the framing before a single window goes in, checking rough opening sizes, sheathing condition, and how the window openings tie into the house wrap plan for the rest of the wall. From there:
- Confirm window sizes, styles, and glass packages against the plans and the home's orientation — south and west-facing openings often benefit from a different glass spec than shaded north walls.
- Install sloped sill pan flashing and integrate jamb and head flashing with the house wrap in the correct shingle-lap sequence.
- Set, shim, and fasten each window plumb and square, then seal the nailing fin fully.
- Foam or seal the interior perimeter and confirm smooth operation before trim and siding go on.
- Final exterior caulk and trim once siding is installed around the opening.
Product and Cost Factors
| Factor | What It Affects | Why It Matters in Nooksack |
|---|---|---|
| Frame material (vinyl, fiberglass, wood-clad) | Upfront cost and long-term maintenance | Sustained moisture and moss exposure favor low-maintenance frames on shaded or north-facing walls |
| Glass package (double vs. triple pane, low-e coatings) | Energy performance and condensation resistance | Cooler, damp mornings in the river valley make condensation resistance worth the upgrade on many homes |
| Number and size of openings | Labor and flashing time | More openings mean more flashing transitions, each one a place water needs to be managed correctly |
| Wall orientation and exposure | Glass spec and flashing detail priority | South and west walls take more sun and driving rain; north walls hold moisture and moss longer |
| Rough opening condition | Whether extra sheathing or framing repair is needed first | New builds are usually clean, but additions tied into older framing sometimes need repair before windows go in |
Exact pricing depends on the specific project, window count, and product selection, which is why we walk the job and give a written number rather than quoting off a generic price list.
Signs of a Window Install Done Wrong
Some of these show up right away; others take a wet season or two to surface. On a Nooksack property, a poorly flashed window opening usually reveals itself sooner than it would in a drier climate.
- Staining, bubbling, or soft drywall on the interior wall below or beside a window
- Cracked or failing exterior caulk at the trim within a year or two of installation
- Visible daylight or drafts around the frame when the window is closed
- Windows that stick, bind, or don't latch square
- Fogging or condensation between panes, which usually means a failed seal on the glass unit itself
- Musty smell or visible moss and mildew forming right at the sill or corners
Why a Local Crew Matters Here
A crew that installs windows in and around Ferndale and Nooksack regularly has seen how this specific climate, driving rain, river valley humidity, and a long moss season, actually plays out on real houses over a full year, not just how a product performs on a spec sheet. That experience shapes real decisions on install day: how much extra attention a north-facing opening needs, where flashing laps deserve extra care, and which glass packages make sense given how much sun a given wall actually gets. New-construction window installs only get one real shot at doing the flashing right, since the wall closes up around them once siding goes on. A crew that already knows this area treats that one shot seriously.
What to Expect When You Call Us
- A review of your rough openings, plans, or existing framing to confirm what new-construction window sizes and styles fit the project
- An honest recommendation on frame material and glass package based on each wall's actual sun and moisture exposure
- A clear walkthrough of our flashing and sealing sequence, since that's where most long-term window problems actually start
- A written estimate with no pressure to sign on the spot
If you're building new, adding on, or opening up a Nooksack-area home for a full re-side and need new-construction windows installed correctly the first time, we're glad to take a look. Reach out using the form below to schedule a free, no-pressure estimate.